Subframe bushes
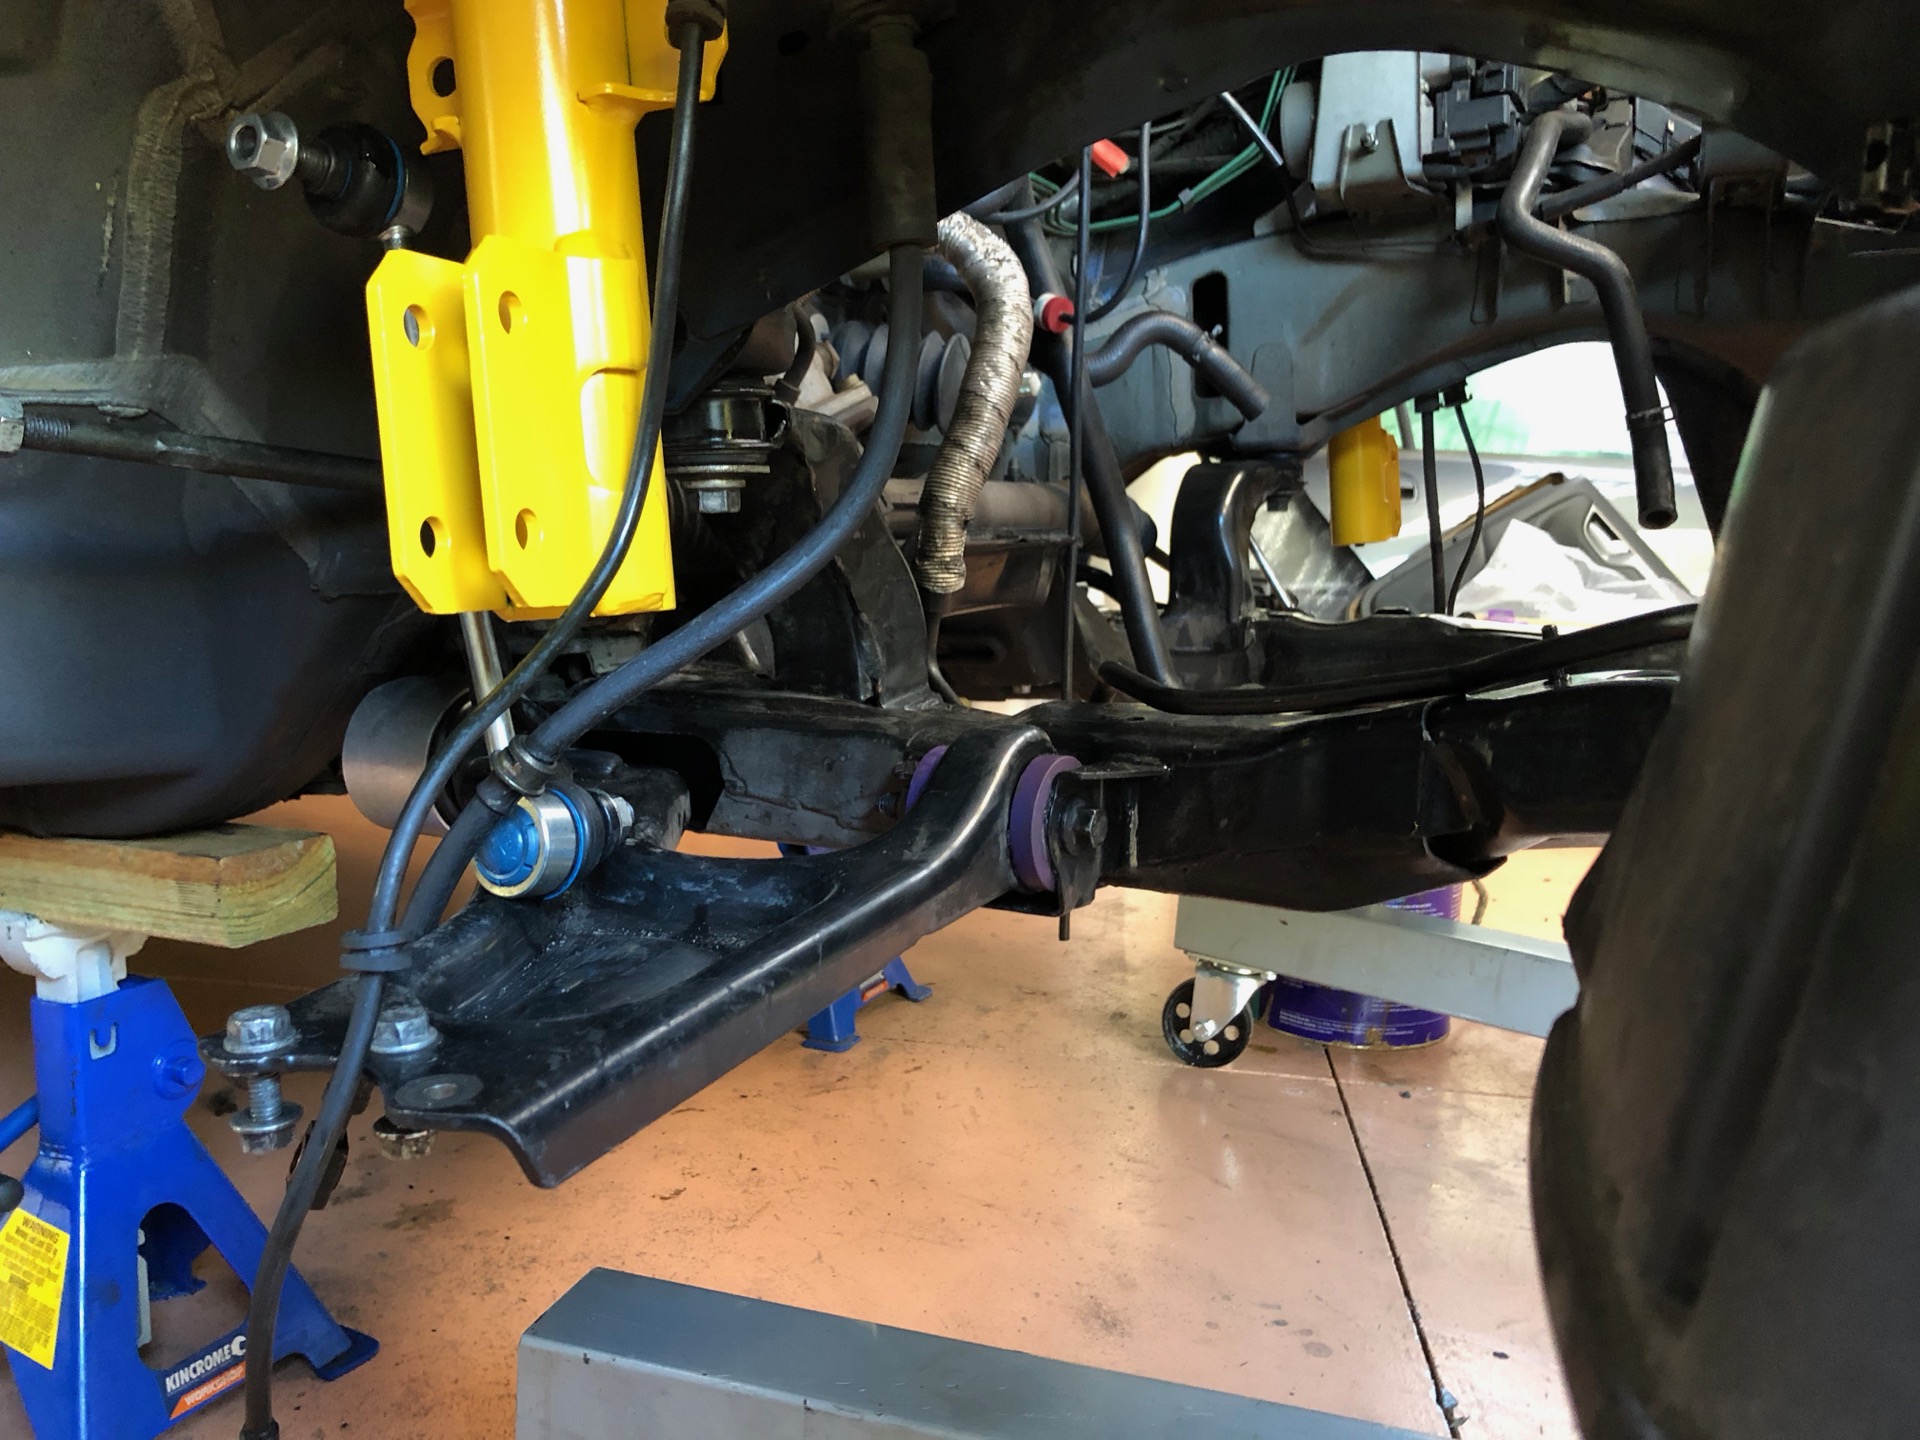
It took all of one afternoon, but 6 subframe bushes are now installed. I used the newer 06+ solid bushes front and rear.
Best way to extract turned out to be using a hole saw on the rubber, followed by a socket to hammer out the sleeve.
The old oil pump gear served well as a perfectly sized bush receiver for installing them. I also made use of an old head bolt to build the pushing/pulling tool.
Not too bad a job once I worked it out - almost gave up on the first one!
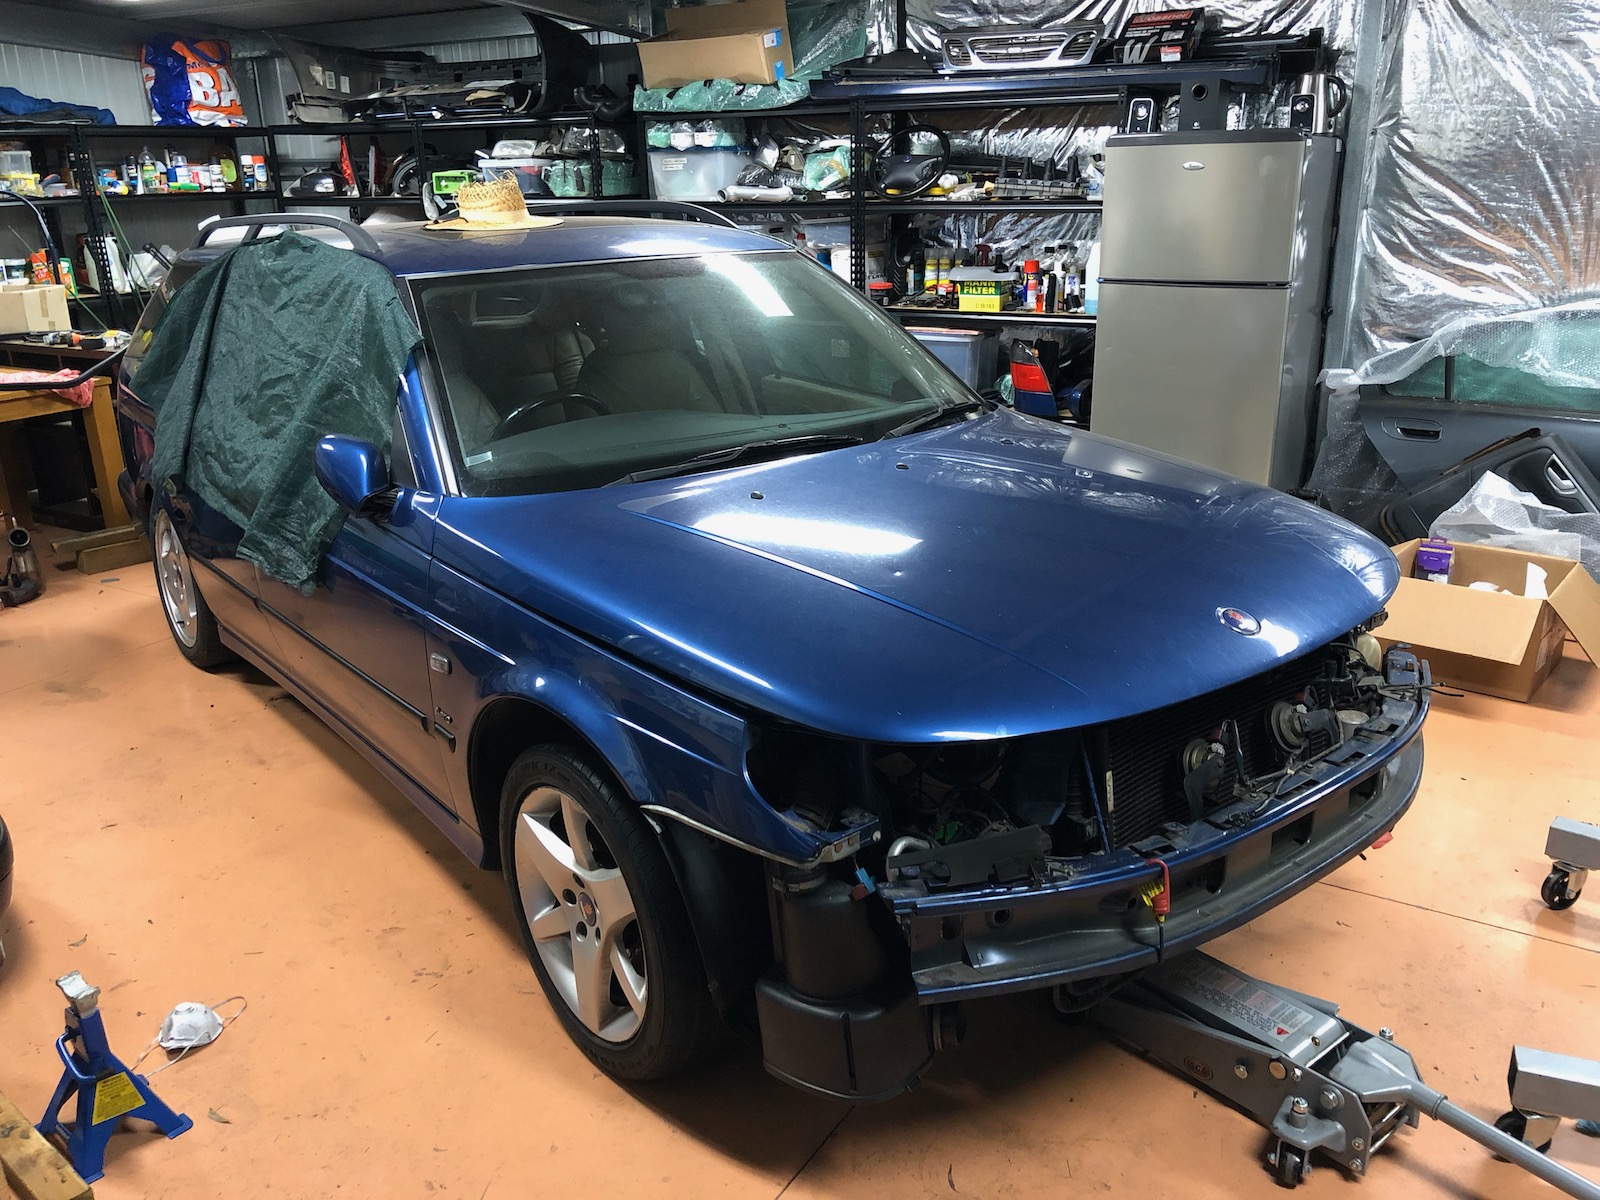
The subframe is now bolted up, and the car is back on all 4 wheels for now.
I have to say my subframe bushes looked largely OK, but I was there and the bushes were relatively cheap. In part I took the frame out because I knew it was full of oily dirt covered crap from the leak I'm over-fixing :D
Once the frame is out it's quite easy to install the bushes with the method I used.
Getting the frame reinstalled wasn't too bad either – the middle fixing points seem a bit flawed, it's a little flat plate sat in the frame, with a bit of plastic or something to, I guess, dampen it. Well, if that bit of plastic hasn't disappeared over time, that is. I've never seen anyone mention this. I wasn't much impressed by it compared to the other engineering on the car.
Quick Saab 9-5 subframe bushing how to:
- With the subframe upside down, cut the rubber part of the old bushes out using a suitable sized holesaw. I then tapped out the sleeve from the other side using a socket and hammer.
- I then cleaned the frame up a bit, and I greased up the bush – both the rubber and steel parts – using some poly bush lube i had laying about
- The bushes go in from underneath, because the sleeve has a lip. Obvious enough.
- Line up the bush, then set up your bush pulling tool. Mine used...
- A head bolt
- A big socket OR the old oil pump gear i mentioned. Something that fits over the frame. For the middle bushes i used the pump gear, because it was a better fit on the thin contact area.
- A perfectly sized, sturdy washer, that will fit inside the subframe holes and provide pressure on the bottom of the bushing.
- An m12 nut
- The socket/oil pump gear/receiver goes on the top of the frame, the bolt passes through it and the bush, the big washer goes on the bottom, followed by the nut. Or nut on top and the head bolt from the bottom, for the deeply recessed positions. Whatever works.
- You'll need your 14mm head bolt socket (e-torx) and suitable sized wrench for the nut. An offset wrench would probably be best. I had to make do with an adjustable.
- Make sure it's all lined up, and steadily tighten it down, checking it's going in evenly. If not, adjust the position of your receiver a bit and carry on. It should go in quite easily.
- Once it feels tight, it's probably in – just check that it's in square.
- Done!
Bear in mind the head bolts are quite short, which is why i used a big washer instead of another socket.
Now.. where's the second exhaust hanger I took off.. I'm looking at you, dog...

Comments